
Transfer Photos From iPhone: 5 Easy Ways to Your Computer
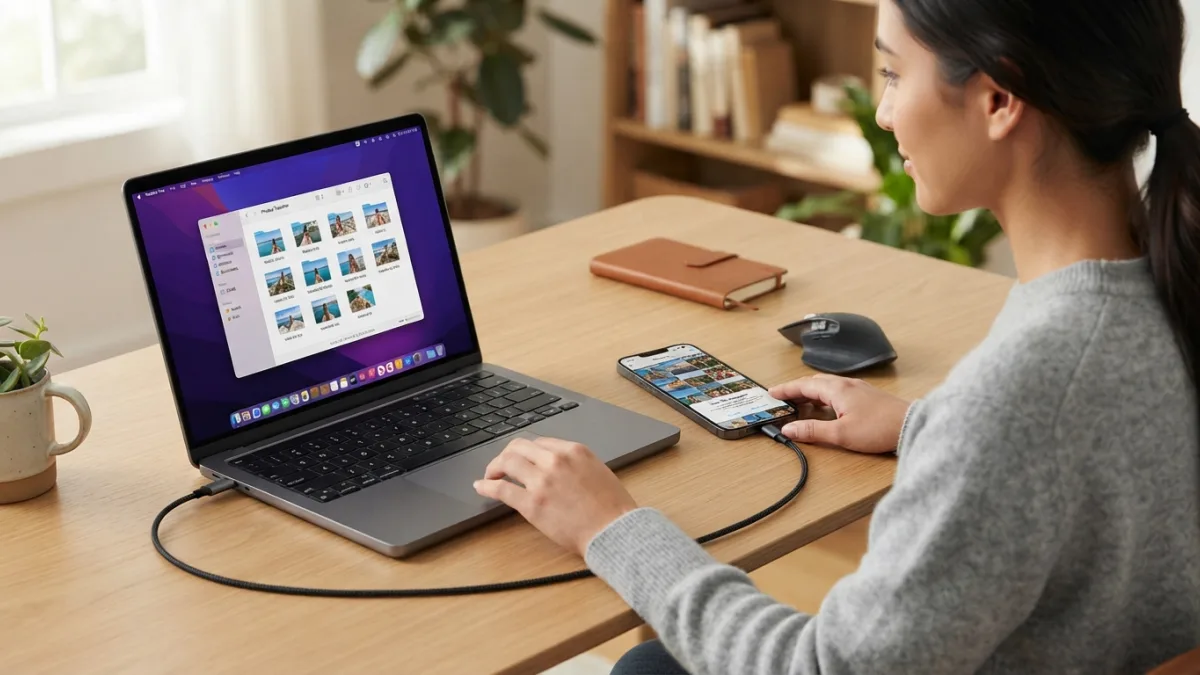
Your iPhone camera roll fills up faster than you expect. One vacation, a few birthday videos, and suddenly that “Storage Almost Full” warning pops up. The good news is that you can transfer photos from iPhone to a laptop or desktop in a few minutes, and you don’t need special software to do it. Whether you use a Windows PC or a Mac, one method will fit your habits, your cables, and your patience. Some options use a cable. Others work over Wi-Fi. One can even run quietly in the background while you sleep. This guide walks through five reliable ways, then covers what to do when something goes wrong and how to handle tricky HEIC files. Pick the one that sounds easiest, try it once, and your memories will be much safer.
Get ready before you start
Before you transfer photos from iPhone, spend two minutes on prep. It prevents most of the errors people run into later. First, unlock your phone and keep the screen awake. Second, update iOS and your computer’s operating system if updates are waiting. Third, check that your computer has enough free space, because a large library can take up many gigabytes. Fourth, use a good cable. A damaged or low-quality one is a common reason a computer won’t see the phone. If you’re not sure which settings or cables suit your model, Apple’s iPhone support pages are a reliable place to check. Finally, if your photos are precious, make a second copy somewhere else once the transfer finishes. A single copy on a single computer is not a backup. If you run into other issues on your iPhone, our step-by-step guide on how to fix an iPhone Stuck on the Apple Logo walks through the safest fixes.
Five ways to transfer photos from iPhone to a computer
1. Transfer photos using USB and File Explorer
The most direct way to transfer photos using USB works on any Windows PC. Plug your iPhone into the computer, unlock it, and tap Trust if a prompt appears. Then open File Explorer and look for your iPhone under This PC. Open Internal Storage, then the DCIM folder, where your pictures and videos sit inside subfolders. Copy what you need and paste it into a folder on your computer. It feels old-school, and that’s the appeal: no accounts, no Wi-Fi, no waiting for a sync. The downside is the mess. Files are grouped by Apple’s own folder system, not by date or album, so finding one specific shot can take a while. If you want a tidier result, the next method helps.
2. Import photos to Windows with the Photos app
If you’d rather skip the folder digging, use the built-in Photos app to import photos to Windows. Connect and unlock your iPhone, then open Photos from the Start menu. Select Import, choose the option to import from a USB device, and pick your iPhone. Tick the pictures you want, or choose everything new, then confirm the destination folder. The app remembers what you’ve already imported, so next time it shows only your latest shots. That saves real time if you plug in every few weeks. If Windows doesn’t recognize the phone at all, installing Apple’s latest software for Windows can add the missing drivers. Menu names shift a little between Windows versions, but the flow stays the same: connect, select, import.
3. iPhone photos to Mac with the Photos app
For iPhone photos to Mac, Apple’s own Photos app is the natural choice. Connect your iPhone with a cable, unlock it, and tap Trust. Photos often opens by itself and shows an Import screen. If it doesn’t, open the app and click your iPhone in the sidebar. Choose Import All New Items, or select specific pictures and click Import Selected. Prefer plain folders instead of a photo library? Image Capture, which comes with macOS, lets you pick any destination, such as the Desktop or an external drive. When the import ends, you’ll be asked whether to delete the originals from your iPhone. Think twice. Check that everything arrived safely, and clean up your phone later.
4. AirDrop photos to Mac without a cable
Need just a handful of pictures? AirDrop photos to Mac is often the fastest route. Turn on Wi-Fi and Bluetooth on both devices, then open the AirDrop window in Finder on your Mac and set it to receive from Contacts Only or Everyone. On your iPhone, open Photos, select the images, tap the Share button, and choose your Mac from the AirDrop row. Accept the transfer on the Mac if asked. The files usually land in your Downloads folder. Quality stays high, and you don’t need a cable. The limits are simple. AirDrop only works between Apple devices, and it isn’t the best tool for thousands of files at once. Keep both devices close together and awake until the transfer finishes.
5. iCloud Photos download from any browser
Prefer no cable at all? An iCloud Photos download is nearly hands-off once you set it up. On your iPhone, open Settings, tap your name, choose iCloud, then Photos, and turn on Sync this iPhone. Your library uploads over Wi-Fi. On a computer, sign in at iCloud.com, open Photos, select your pictures, and use the download button. Windows users can also install iCloud for Windows to sync automatically. Apple includes 5 GB of free storage, which photo libraries can fill quickly, so you may need a paid plan. Remember, too, that iCloud keeps one library in sync across devices, so deleting a photo in one place can remove it elsewhere. You can read more on Apple’s iCloud support page. While you are adjusting your iOS settings, it is also worth learning how to use AirDrop to keep your iPhone running smoothly.
Which way to transfer photos from iPhone fits you best?
| Method | Works on | Needs Wi-Fi | Best for |
|---|---|---|---|
| USB and File Explorer | Windows | No | Simple copy-and-paste of everything |
| Windows Photos app | Windows | No | Importing only new photos |
| Mac Photos app or Image Capture | Mac | No | Large libraries and custom folders |
| AirDrop | Mac | Yes, plus Bluetooth | A few photos, quickly |
| iCloud | Windows, Mac, and browsers | Yes | Automatic syncing and backup |
Can you transfer photos without iTunes?
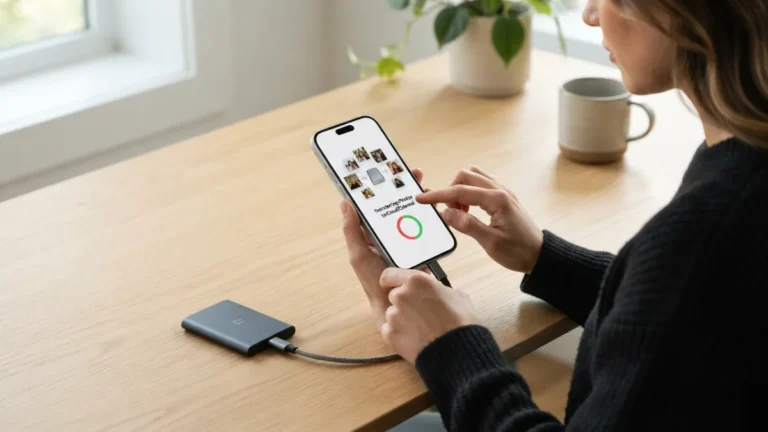
Yes. You can transfer photos without iTunes, and most people never need it for pictures at all. On Windows, File Explorer and the Photos app handle the job. On a Mac, iTunes is long gone. Apple replaced it with the Music app and moved device tasks to Finder, so the Photos app and AirDrop are the usual tools. iTunes mattered more for music, podcasts, and old-style backups, and your camera roll is a different story. Importing copies the files to your computer and leaves the originals on your phone, which makes it the safest habit. If you want extra protection, import with a cable once, then keep iCloud or another backup running on top of it. Two copies in two places is a good rule.
Quick fixes if iPhone photos not importing
Few things are more annoying than a blank import window. When iPhone photos not importing becomes your problem, the cause is usually small. Run through these checks in order before you panic:
- Unlock the phone and tap Trust when asked. Without it, the computer sees nothing.
- Swap the cable or port. Try a different USB port, and avoid cheap hubs.
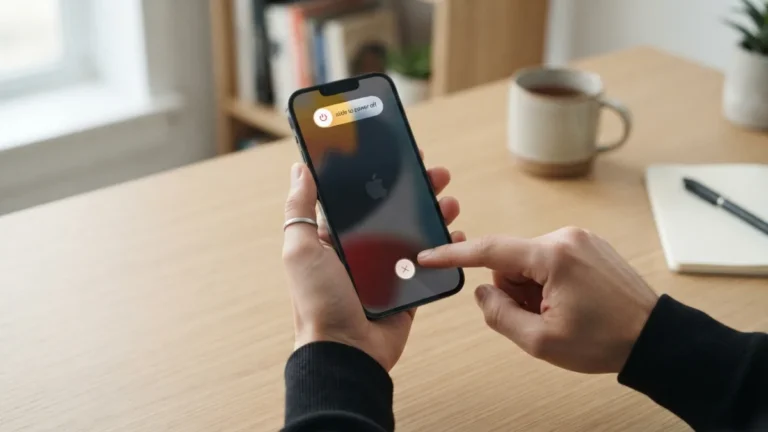
- Restart both devices and update iOS, Windows, or macOS.
- Reset the Trust prompt: on your iPhone, go to Settings, General, Transfer or Reset iPhone, then Reset, and choose Reset Location & Privacy.
- Check iCloud settings. If Optimize iPhone Storage is on, some full-size originals live in the cloud, not on the phone. Download them first.
- Free up space on the computer so the import has room to finish.
If you still can’t transfer photos from iPhone after all that, try a different method from the list above.
How to convert HEIC to JPG when you need it
Sometimes the transfer works, but the files won’t open or upload where you want them. The reason is usually format. Modern iPhones save photos in HEIC by default, a space-saving format based on HEIF, and not every website or older program accepts it. You have a few easy ways to convert HEIC to JPG. On a Mac, open the picture in Preview, choose File, then Export, and select JPEG. In Photos, you can also export photos as JPEG. On your iPhone, go to Settings, Photos, and under Transfer to Mac or PC, choose Automatic, which converts files to a compatible format when needed. To shoot JPEG from the start, open Settings, Camera, Formats, and pick Most Compatible. Be careful with random online converters, since you’re uploading personal pictures.
The easiest way to transfer photos from iPhone
So which route should you take? If you own a Windows PC and want control, use a cable and the Photos app. If you use a Mac and only need a few pictures, AirDrop wins on speed. If you want your library backed up and available everywhere without thinking about it, iCloud is the least effort over time. None of these methods is hard, and none costs anything beyond storage if you go the cloud route. Choose one this week, move your photos, and check that the copies open correctly. Then you can safely free up space on your phone and keep shooting without worry. A few quiet minutes now beat the panic of a lost or damaged phone later. For another practical way to get more out of your iPhone, see our walkthrough on how to iPhone Keeps Overheating.
FAQ: Transfer photos from iPhone to computer
What is the fastest way to transfer photos from iPhone to a computer?
For a few pictures, AirDrop is fastest if you own a Mac. For large libraries, a cable is usually quicker than uploading everything over Wi-Fi, because it doesn’t depend on your internet speed.
Can I move photos to a PC without a cable?
Yes. Turn on iCloud Photos on your iPhone, then sign in at iCloud.com or install iCloud for Windows on your PC. You’ll need Wi-Fi and enough iCloud storage for your library.
Does transferring photos delete them from my iPhone?
No. Importing copies the files. The originals are only removed if you choose to delete them, so check your computer copies first.
Why are my iPhone photos saved as HEIC files?
HEIC is the default format on modern iPhones because it saves space while keeping good quality. If you want JPEG, change the setting under Camera, Formats, or convert the files after importing.
Do I need to pay to use iCloud for photo transfers?
Not always. Apple gives you 5 GB of free iCloud storage. Larger photo libraries often need a paid storage plan, but a cable transfer costs nothing.




One Comment
Comments are closed.