
Use AirDrop: 7 Simple Steps to Share Photos Effortlessly
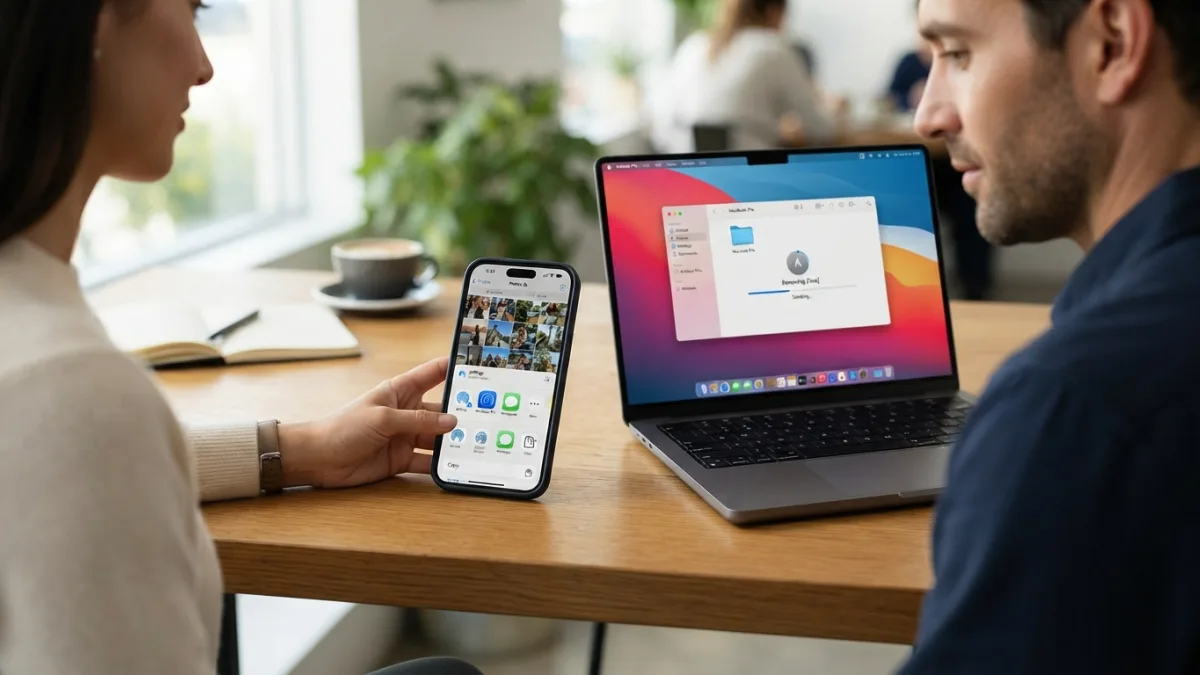
You took amazing photos on your iPhone and now you want to send them to a friend right next to you without losing quality or waiting for an upload. If you want to use airdrop, you can share photos, videos, and files in seconds with just a tap, and you do not need cables, email, or extra apps. It feels almost like magic, but it is just a smart wireless feature built into every Apple device. Many people have it on their phone and never try it, even though it is one of the easiest ways to move files quickly. In this guide you will learn how it works, how to set it up, and how to fix small problems if they appear.
Why AirDrop Is the Fastest Way to Share Files iPhone Users Love
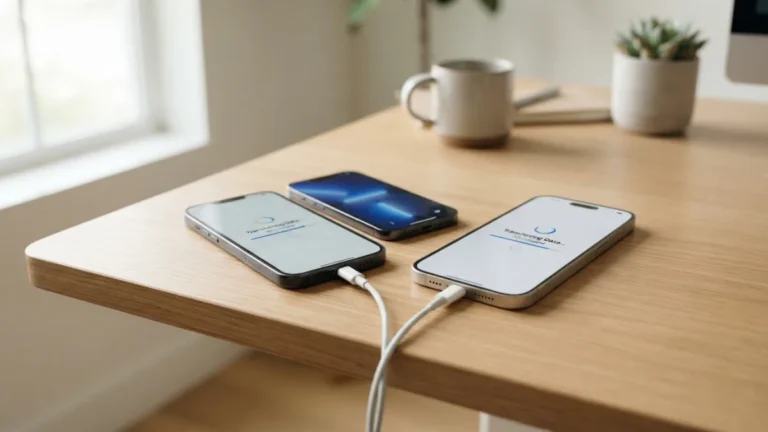
AirDrop uses a mix of Bluetooth and Wi-Fi to create a direct link between two Apple devices. Bluetooth finds nearby devices, and Wi-Fi does the heavy work of moving the file quickly, so you get fast speeds without using mobile data or the internet. That means you can share files iphone users care about, like high-resolution photos, long videos, or large PDFs, and keep the original quality. Unlike messaging apps that compress images, AirDrop sends the full file. Many people use airdrop because it keeps quality high and works even when the internet is slow. It also works offline, which is perfect when you have weak signal at a cafe, on a plane, or at an outdoor event. You stay in control too, because the other person must accept the file before it arrives on their device. If you run into other issues on your iPhone, our step-by-step guide on how to update Your iPhone walks through the safest fixes.
Before You Start: Check Your airdrop settings
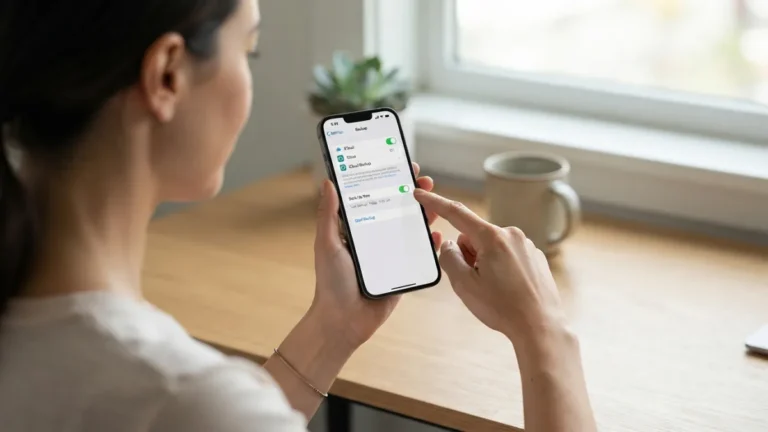
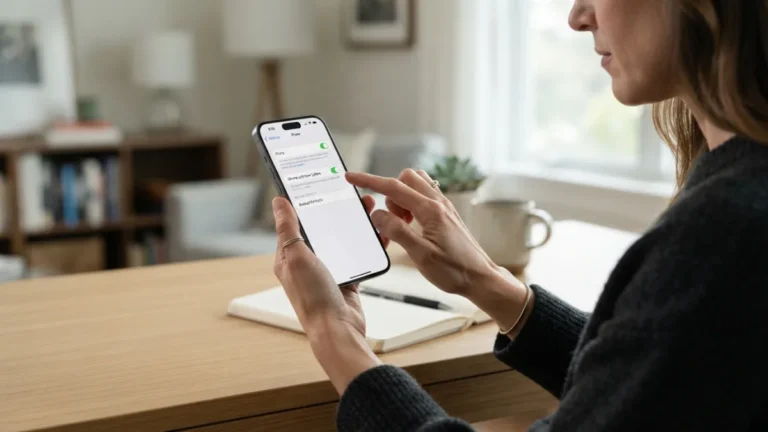
Before you send anything, take a minute to check your airdrop settings so your device can be found. On iPhone or iPad, open Control Center, press and hold the network card in the top left, tap AirDrop, and choose who can find you. You will see three choices: Receiving Off, Contacts Only, and Everyone for 10 Minutes. For quick sharing with a friend who is not in your contacts, pick Everyone for 10 Minutes, then switch back later for privacy. Also make sure both Wi-Fi and Bluetooth are turned on, even if you are not connected to a network. According to Apple’s official AirDrop guide, both devices need to be awake, unlocked, and within about 30 feet of each other for the best result.
How to use airdrop: 7 Simple Steps to Share Photos Effortlessly
Step 1: Open the Photo or File You Want to Send
Start by opening the item you want to share, because AirDrop works from almost any app that has a share button. If it is a photo, go to the Photos app and tap the image or select several at once by tapping Select and then each picture. If it is a document, open it in Files, Notes, or Pages. When you use airdrop from Photos, you keep the full resolution and the location data if you choose to include it. Take a moment to check that you picked the right files, especially if you are sending a batch from a trip or an event. Once you are happy with your selection, you are ready to open the sharing menu, which is the next step.
Step 2: Tap the Share Button
Look for the share icon, which is a square with an arrow pointing up. You will find it at the bottom of the screen in Photos and at the top or bottom in most other apps. Tap it and a sheet will slide up showing different ways to send your file, like Messages, Mail, and AirDrop. This menu may look crowded, so scroll a little if you do not see the AirDrop row right away. On newer iPhones the AirDrop section appears near the top with profile pictures of nearby people. If you do not see anyone yet, give it a few seconds while your phone scans. Do not tap anything else until the nearby devices appear, because that scan is what makes the connection possible.
Step 3: Choose the Nearby Device
Now you should see icons for nearby Apple devices that can receive files. Each icon shows a name or a profile picture, which helps you pick the right person when several devices are around. Tap the icon for the person you want to send to, and your iPhone will start the transfer right away. When you use airdrop in a busy place like a classroom or office, double-check the name before you tap to avoid sending to the wrong device. If you do not see the device you expect, ask the other person to check that their AirDrop is set to Everyone for 10 Minutes and that their screen is on. Sometimes moving a little closer, within a few feet, helps the devices find each other faster.
Step 4: Wait for the Receiver to Accept
The other person will get a preview of what you are sending along with two buttons: Accept and Decline. They need to tap Accept, and then the file will move over in just a second or two for photos, a bit longer for large videos. You will see a small progress circle around their icon on your screen, and it will change to Sent when the transfer is done. You can use airdrop for photos, videos, contacts, links, and even voice memos, and the accept step is the same every time. If they miss the alert, ask them to keep the screen awake and look for the pop-up near the top or middle of the display. On a Mac, the alert appears in the top right corner and may stay there until they click it. This accept step keeps sharing safe, so random files do not appear without permission.
Step 5: Check Where the File Was Saved
After the transfer finishes, the file does not just disappear; it opens or saves in the right app on the receiving device. Photos and videos go straight to the Photos app, so the receiver can find them in their library or in the Recents album. Documents, PDFs, or links usually open in Files or the app that handles that file type, and the person can choose where to keep them. If you use airdrop often, let the other person know where to look so they do not think the transfer failed. On iPhone, they can also check the Files app under Downloads if they do not see it right away. A quick search in Photos or Files usually brings it up in seconds.
Step 6: Confirm the Transfer Was Successful
Both of you should see a clear sign that the share worked. On the sender’s screen the word Sent appears under the receiver’s icon, and on the receiver’s screen the file is already open or saved. Open the photo or file together to make sure it looks right, especially if you sent many items at once. If something is missing, try sending that one file again instead of the whole batch, which can be faster and avoids confusion. This quick check takes only a few seconds and prevents the awkward moment where someone thinks they have the file but cannot find it later. You can also compare file counts, for example if you sent ten photos, make sure ten arrived. It is a small habit that makes sharing smoother every time.
Step 7: Turn Off or Adjust AirDrop When Done
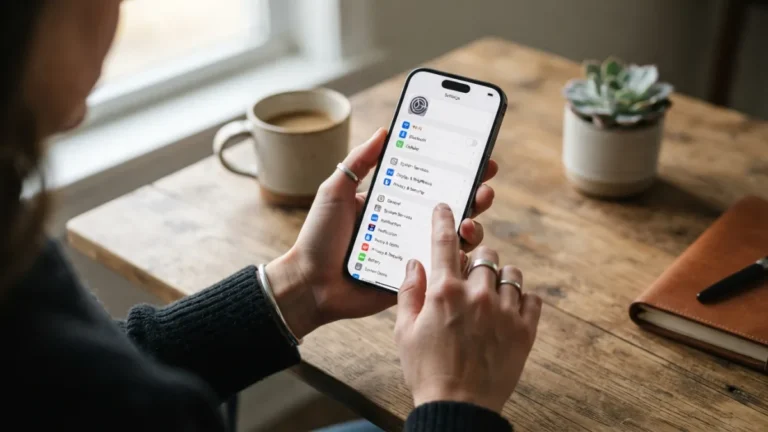
When you are finished, it is smart to adjust your settings again for privacy and battery life. Go back to Control Center and set AirDrop to Contacts Only or Receiving Off if you do not need to be discoverable. This does not turn off Bluetooth or Wi-Fi, it just stops strangers from seeing your device. If you use airdrop every day at work or school, you might leave it on Contacts Only so trusted people can still reach you without extra steps. Remember that the Everyone for 10 Minutes option turns off by itself after ten minutes, which is helpful if you forget. A quick settings check keeps your phone secure while still ready for the next quick share. While you are adjusting your iOS settings, it is also worth learning how to fix an iPhone That Won’t Turn On to keep your iPhone running smoothly.
Tips for a Smooth airdrop iphone to mac Transfer
Moving files between your own devices is where AirDrop really shines, and airdrop iphone to mac transfers are simple once you know the flow. Once you use airdrop between iPhone and Mac a few times, it becomes second nature and saves a lot of time. On your iPhone, select the photos and tap Share, then choose your Mac from the AirDrop row; it will show your Mac’s name and icon. On your Mac, you can also drag and drop files onto the AirDrop icon in Finder to send them the other way. Make sure both devices use the same Apple ID if you want automatic acceptance, or keep them unlocked if they use different IDs. For more background on how the technology works, see AirDrop on Wikipedia. Files land in Downloads on a Mac by default, so check that folder or your Photos library if you sent images.
- Keep both devices awake, unlocked, and within a few meters of each other.
- Make sure Wi-Fi and Bluetooth are on for both iPhone and Mac, even without a Wi-Fi network.
- Use the same Apple ID on both devices for automatic saving without an accept tap.
- Check the Downloads folder on Mac or the Photos app if you cannot find the file right away.
What to Do When airdrop not working and Best airdrop alternatives
Sometimes AirDrop does not show a nearby device, and a few quick checks usually fix it. First, make sure both devices have Wi-Fi and Bluetooth on, are unlocked, and are close together. Try toggling AirDrop off and on, or switching from Contacts Only to Everyone for 10 Minutes, then back again. If you use airdrop regularly, keeping both devices updated to the latest software helps avoid bugs that block discovery. Check that Personal Hotspot is off, because it can interfere with the connection. If you still have trouble and need to share files iphone to Android or to a Windows PC, try airdrop alternatives like Snapdrop, Sharedrop, or a cloud link through iCloud Drive or Google Drive. These options work across systems and need only a browser, so you are never stuck without a way to send files. Learn more about device requirements on Apple’s device compatibility page.
- Turn Wi-Fi and Bluetooth off and on again on both devices.
- Switch AirDrop to Everyone for 10 Minutes and keep the screen awake.
- Move devices closer, within 30 feet, and turn off Personal Hotspot.
- Restart both devices if nothing appears after a minute of waiting.
FAQ: How to Use AirDrop to Share Photos and Files Easily
Do I need Wi-Fi or mobile data to use AirDrop?
No, you do not need an internet connection or mobile data. AirDrop creates a direct wireless link using Bluetooth to find devices and Wi-Fi to move the file. You just need both Wi-Fi and Bluetooth turned on.
Why is my AirDrop not showing up for others?
Check that AirDrop is set to Everyone for 10 Minutes or Contacts Only, and that your screen is awake and unlocked. Also make sure you are close to the other device and that Personal Hotspot is off. Toggling the setting off and on often helps.
Can I use AirDrop between iPhone and Mac?
Yes. If you want to use airdrop between iPhone and Mac, select the file on one device, tap Share, and choose the other device from the AirDrop row. On Mac, you can also use Finder and drag files to the AirDrop section.
How do I share many photos at once with AirDrop?
Open Photos, tap Select, choose all the photos you want, then tap the Share button and pick the receiver. There is no strict limit, but sending very large batches may take longer, so try smaller groups if it feels slow.
Are there good airdrop alternatives for Android or Windows?
Yes. For non-Apple devices, try browser-based tools like Snapdrop or Sharedrop, or share an iCloud Drive or Google Drive link. They work on Android, Windows, and Mac without needing extra installs.
Related guide: Transfer Photos From iPhone: 5 Easy Ways to Your Computer


2 Comments
Comments are closed.