
Back Up Your iPhone to iCloud: 7 Easy and Safe Steps
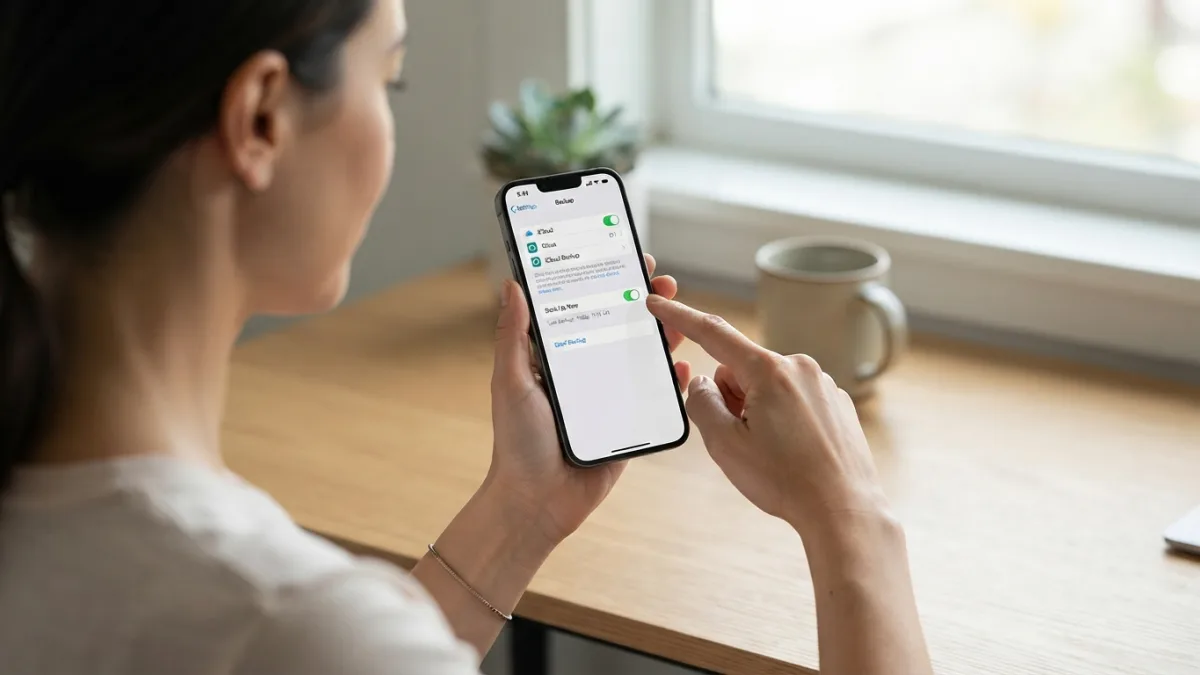
Your phone dies on a train. A cracked screen refuses to wake up. A thief grabs it at a café. In seconds, years of photos, messages, and app data can disappear. The fix takes just a few minutes: back up your iPhone to iCloud before trouble strikes. Apple’s cloud service stores a copy of your device online, so you can get everything back on a new phone or after a reset. You don’t need a cable, a computer, or any technical skills. This guide walks you through seven simple steps, explains what gets saved, and shows how to fix common problems. It also covers how to bring your data back later and why a second copy on your computer is a smart idea. Grab your phone, find a Wi-Fi network, and let’s get started.
What Does iCloud Back Up?
A quick look at what lands in a backup saves you from surprises later. When you back up your iPhone, iCloud saves your device settings, app data, the layout of your Home Screen, and your purchase history. It also keeps your text and iMessage history, unless you already use Messages in iCloud, which syncs them separately. If you don’t use iCloud Photos, the photos and videos in your Camera Roll go into the backup too. Some data skips the backup because it already syncs on its own. Contacts, calendars, notes, and iCloud Photos live in iCloud directly, so they stay safe as long as those sync switches are on. A few items never make it into a backup at all, such as Face ID settings and Apple Pay card details. You’ll set those up again after a restore. For the full list, see Apple’s official iCloud support pages. If you run into other issues on your iPhone, our step-by-step guide on how to reset Your iPhone walks through the safest fixes.
How to Back Up Your iPhone to iCloud, Step by Step
Step 1: Get Your iPhone Ready
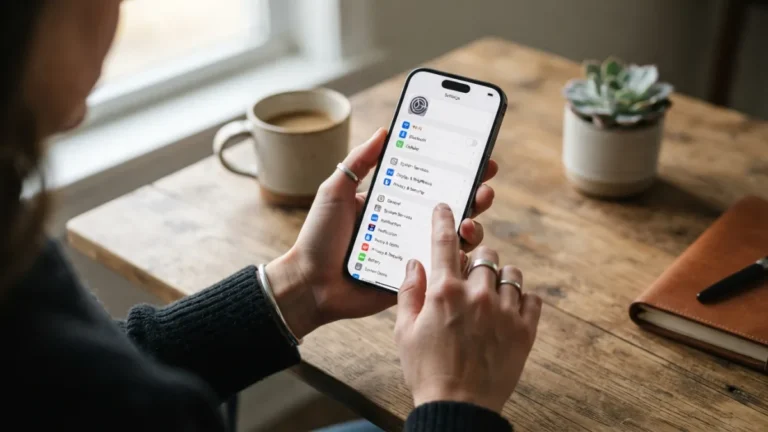
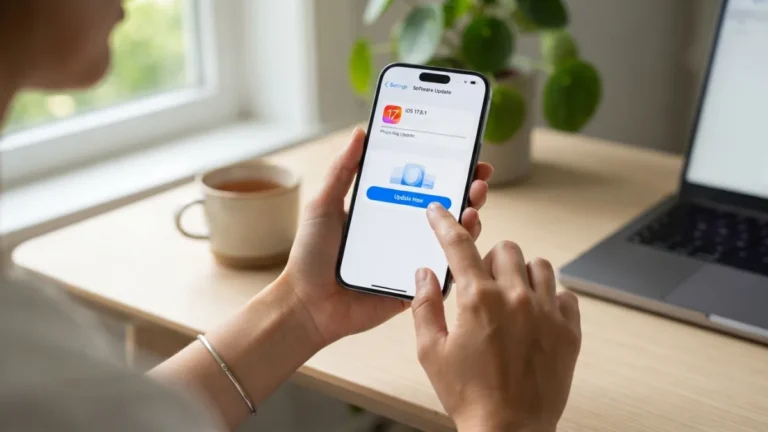
Before you back up your iPhone, spend one minute on preparation. Connect to a Wi-Fi network, because iCloud backups need a stable connection. Plug in a charger too, since uploading a big backup can drain the battery. Then open Settings, tap General, tap Software Update, and install anything that’s waiting. A current version of iOS cuts down on strange errors. Quick checklist:
- Your iPhone is connected to Wi-Fi.
- The battery is charging or nearly full.
- Your name appears at the top of Settings. If you see a sign-in prompt instead, log in with your Apple Account first.
Step 2: Open Your iCloud Settings
Open Settings and tap your name at the top of the screen. Next, tap iCloud. You’ll see a bar showing how much storage you’ve used, plus a list of apps that sync with iCloud. Every Apple Account starts with 5 GB of free storage, and that space fills up faster than most people expect. Glance at the bar now. If it’s nearly full, plan to fix that in Step 6 so your backup doesn’t fail halfway through. Look over the app list too. Switching off an app here stops it from syncing, which saves space but also means that data won’t be stored in iCloud. When you’re done, scroll down and tap iCloud Backup. Everything you need sits on that one screen.
Step 3: Turn On iCloud Backup
Now it’s time to turn on iCloud Backup. On the next screen, flip the switch labeled Back Up This iPhone. On older versions of iOS, the switch is simply called iCloud Backup. Once it turns green, your phone will back up your data automatically whenever it’s locked, plugged in, and connected to Wi-Fi. That usually means overnight. This one setting does most of the work, so if you only do one thing from this guide, make it this. Some older iOS versions show a message saying your iPhone will no longer back up to your computer automatically. Don’t worry. That note only refers to automatic syncing with a computer. You can still make a manual copy there whenever you like, as we explain near the end.
Step 4: Tap Back Up Now
Don’t wait for the overnight run. Tap Back Up Now, right below the switch, and start your first backup immediately. A progress bar appears with an estimate of the time left. The first backup takes the longest because iCloud has to upload everything. Later backups mostly send only what has changed, so they go faster. Stay connected to Wi-Fi until the process finishes. You can leave the screen and use other apps, but if you walk out of Wi-Fi range, the upload pauses. When the bar disappears, you’ve done it. You were able to back up your iPhone for the first time, and from here on, the process mostly runs by itself.
Step 5: Check Last Backup Time
A backup you never verify is just a hope, so check last backup time before you relax. On the same iCloud Backup screen, look under the Back Up Now button. You’ll see a line that says “Last successful backup,” followed by a date and time. If it says today, you’re covered. If the date is weeks old, something is blocking the process, and the fixes later in this article should help. For more detail, go to Settings, tap your name, tap iCloud, and open Manage Account Storage. From there, choose Backups and tap your iPhone to see its size. Make this a habit, especially before you update iOS, repair your phone, trade it in, or travel.
Step 6: Fix an iCloud Storage Full Warning
Many people hit a wall when they see an iCloud storage full alert. It means your backup is bigger than the space you have left, so the process stops. You have two ways out: free up room, or pay for more. Either way, you can still back up your iPhone successfully afterward. Try these options, starting with the cheapest:
- Delete old backups. In Manage Account Storage, open Backups and remove copies from devices you no longer use.
- Trim what you save. On the backup screen, use the data list to switch off apps you don’t need to back up, such as large games.
- Clear big files. Old videos, large message attachments, and voice recordings often take the most space.
- Upgrade iCloud storage plan. In Manage Account Storage, tap Change Storage Plan and pick a paid iCloud+ option. Apple lists current sizes and prices on its iCloud page.
Step 7: Let Automatic Backups Do the Work
The last step is the easiest: leave things alone. As long as the Back Up This iPhone switch stays on, iCloud copies your data automatically, usually about once a day, when your phone is locked, charging, and on Wi-Fi. The best routine is simple. Plug in your iPhone at bedtime, as you probably already do, and let it finish while you sleep. Once a month, glance at your storage bar and your last backup date. Before a big change, such as installing a major iOS update, tap Back Up Now again for a fresh copy. If you share an Apple Account or have an old phone you no longer use, remember that each device may keep its own backup. Those old copies can quietly eat your space.
iCloud Backup Not Working? Try These Fixes
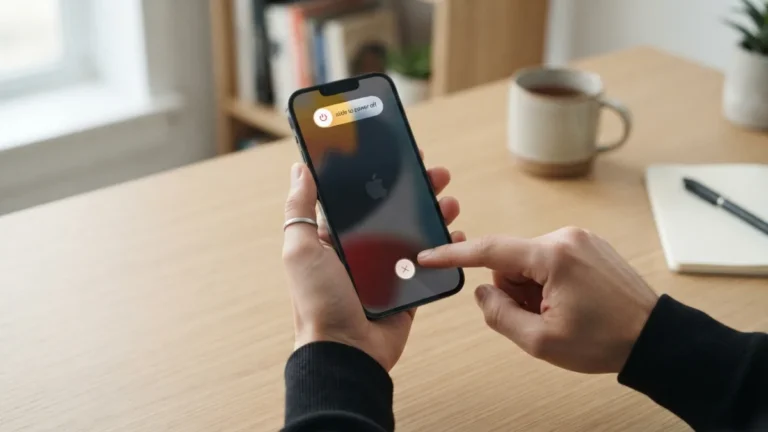
Even a simple system fails sometimes. If your backup stalls or shows an error, start with the basics. Confirm you’re on a working Wi-Fi network, check that you have enough free iCloud space, and restart your phone. Then install any pending iOS update and try Back Up Now again. If that doesn’t help, visit Apple’s System Status page to see whether iCloud itself is having problems. In that case, you simply have to wait. Still stuck? Sign out of your Apple Account and sign back in, and read each prompt carefully so you don’t delete data by accident. If you still can’t back up your iPhone after all that, contact Apple Support. They can look at your account and spot problems you can’t see. While you are adjusting your iOS settings, it is also worth learning how to Parental Controls on iPhone to keep your iPhone running smoothly.
How to Restore From iCloud Backup
The real payoff comes when you set up a new iPhone or wipe an old one. During setup, follow the on-screen prompts until you reach the Apps & Data screen. Tap Restore from iCloud Backup, sign in with your Apple Account, and choose a backup from the list. Check the date and size first, and pick the most recent one. Keep your phone on Wi-Fi and plugged in until the progress bar finishes. Your apps, photos, and other content may keep downloading in the background for a while afterward, so don’t panic if everything doesn’t appear at once. To restore on a phone you already use, you must erase it first, through Settings, General, then Transfer or Reset iPhone. Only do that after you confirm that a fresh backup exists.
Back Up iPhone to Computer for a Second Copy
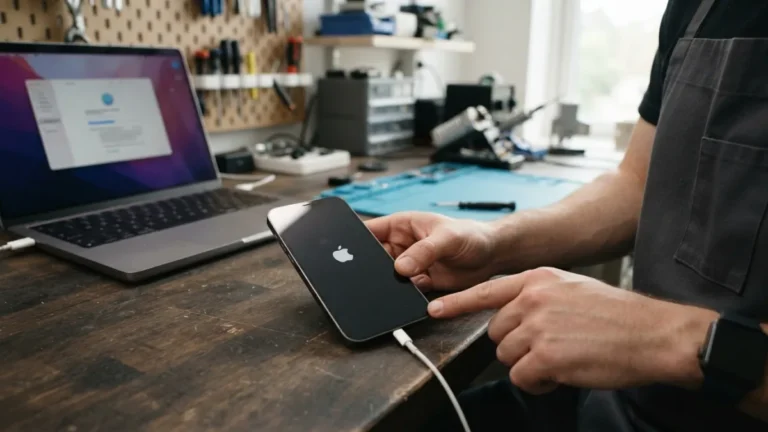
Cloud storage is handy, but one copy of anything is never enough. You can also back up iPhone to computer, which doesn’t use any of your iCloud space. On a Mac, connect your phone with a cable, open Finder, select your iPhone in the sidebar, and click Back Up Now. On Windows, use the Apple Devices app or iTunes instead. If you choose Encrypt local backup, the copy can also include sensitive items, such as saved passwords and health data. Just write down the password somewhere safe, because you can’t recover it if you forget it. Now you know how to back up your iPhone in two places. Set up the iCloud routine once, check it every few weeks, and your memories will survive almost any mishap.
Frequently Asked Questions
How long does it take to back up your iPhone to iCloud?
It depends on how much data you have and how fast your Wi-Fi is. The first backup can take a long time, while later ones are usually much quicker because they only upload changes.
Is iCloud backup free?
Every Apple Account includes 5 GB of free iCloud storage. If your backup needs more room, you can choose a paid iCloud+ plan with extra space.
Does an iCloud backup include my photos?
It depends on your settings. If you use iCloud Photos, your pictures sync separately and stay in iCloud. If you don’t, the photos and videos in your Camera Roll are part of the backup.
How often does my iPhone back up automatically?
When automatic backup is on, your iPhone usually backs up about once a day. It needs to be locked, connected to power, and on Wi-Fi.
Can I back up my iPhone without Wi-Fi?
Standard iCloud backups need Wi-Fi. Some newer iPhones with 5G offer an option to use cellular data, but it can use a lot of data. Alternatively, connect your phone to a computer with a cable and make a local backup there.
Related guide: Transfer Photos From iPhone: 5 Easy Ways to Your Computer



3 Comments
Comments are closed.