
Screenshot on iPhone: 5 Easy Methods for Every Model
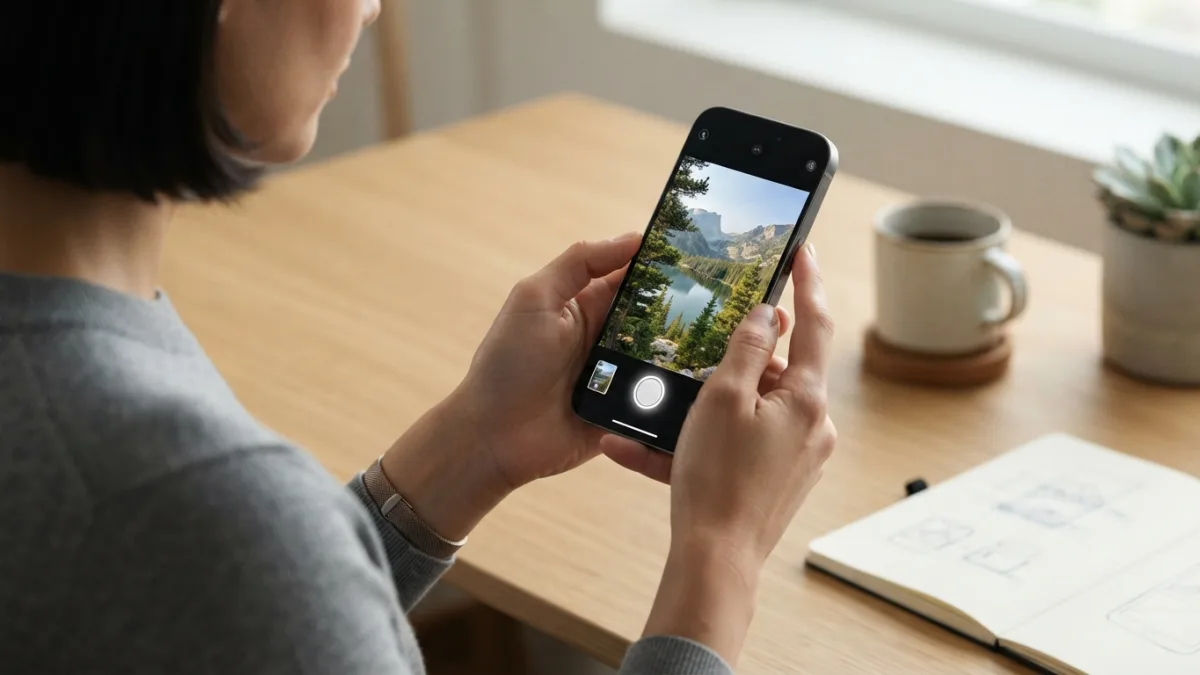
A boarding pass pops up. A friend sends the perfect meme. A store shows a discount code that expires in an hour. You want to keep it, and you want to keep it now. That is when a screenshot on iPhone becomes the fastest tool in your pocket. Apple gives you more than one way to capture your screen, and every iPhone supports at least two of them. The best choice depends on your model and on how you like to hold your phone. In this guide, you will learn five easy methods, from the classic button press to a double tap on the back of your phone. You will also learn how to edit, find, and fix your captures when something goes wrong. First, a quick look at which method fits which phone.
How to Take a Screenshot on iPhone: Pick Your Method
Start with one question: does your iPhone have a Home button? Look at the front. If you see a round button below the screen, you have a Home button model. If the display stretches to the bottom edge, you have a Face ID model. That one detail decides which buttons you press. The other three methods rely on software settings, so they work in a different way. A screenshot is simply a picture of what your screen shows, and all five methods below create one. Apple also keeps guides on its official iPhone support page, which helps if your menus look slightly different after an update. Use the table to jump to the method that suits you. If you run into other issues on your iPhone, our step-by-step guide on how to stop Spam Calls walks through the safest fixes.
| Method | Best for | What you need |
|---|---|---|
| Side button + volume up | iPhones without a Home button | A Face ID model |
| Home button + side or top button | iPhones with a Home button | A Home button model |
| Back Tap | Capturing without pressing buttons | iPhone 8 or later, iOS 14 or later |
| AssistiveTouch | Hard-to-press or damaged buttons | The feature turned on in Settings |
| Full Page in Safari | Long web pages | A page open in Safari |
Method 1: The iPhone Face ID Screenshot Shortcut
Starting with iPhone X, Apple dropped the Home button on many models, so the shortcut moved to the edges of the phone. Taking a screenshot on iPhone models with Face ID takes two buttons: the side button and the volume up button. Press them at the same time, then let go right away. Think of it as a quick pinch, not a squeeze. If you hold them too long, your phone may open the power-off screen or the Emergency SOS screen instead. When the capture works, the screen flashes, and you hear a shutter click if your phone is not on silent. A small preview then slides into the lower-left corner. Tap it to edit the image. Ignore it, or swipe it left, and the screenshot saves to your Photos app.
- Open the screen, app, or photo you want to capture.
- Press the side button and the volume up button together.
- Release both buttons quickly.
- Tap the preview to edit it, or swipe it away to keep it as is.
Method 2: The iPhone Home Button Screenshot
An iPhone home button screenshot uses a different pair of buttons, and the right pair depends on how old your phone is. On iPhone 6 and later models that still have a Home button, such as the iPhone 8 and the iPhone SE (2nd and 3rd generation), you press the side button and the Home button together. On older phones, like the iPhone 5s and the first iPhone SE, the power button sits on top, so you press that one with the Home button instead. Either way, the rule stays the same. Press both at once, release fast, and watch for the flash. If you press the Home button a split second too early, you may wake Siri or leave the app. Practice once or twice, and the timing becomes second nature.
- iPhone 6 and later with a Home button: side button + Home button.
- iPhone 5s, first-generation iPhone SE, and older: top button + Home button.
Method 3: Set Up an iPhone Back Tap Screenshot
Want to skip the buttons entirely? An iPhone back tap screenshot lets you tap the back of your phone two or three times to capture the screen. It works on iPhone 8 and later with iOS 14 or newer. You have to turn it on first. Open Settings, tap Accessibility, then Touch, and scroll to the bottom to find Back Tap. Choose Double Tap or Triple Tap, then pick Screenshot from the list. That is it. Tap firmly on the back panel, and your phone captures the screen just as if you had pressed the buttons. Many people choose Triple Tap, since it prevents accidents when the phone rattles in a pocket. A very thick case may make the taps harder to register, so test it once.
Method 4: The AssistiveTouch Screenshot iPhone Menu
AssistiveTouch puts a floating button on your screen, and you can use it to take a screenshot without touching any hardware. It helps if a physical button is broken, or if pressing two buttons at once is hard for you. Go to Settings, tap Accessibility, then Touch, then AssistiveTouch, and switch it on. A small gray button appears. Tap it, choose Device, then More, then Screenshot. For a faster route, open the AssistiveTouch settings and assign Screenshot to a single tap, double tap, or long press under Custom Actions. Apple describes these tools on its accessibility website. The floating button also appears in your capture? No, it stays out of the picture, so your screenshots look clean.
Method 5: Full Page Screenshot Safari Lets You Save as a PDF
A normal capture only grabs what fits on the screen. For a long article or receipt, a full page screenshot Safari can create saves the whole page in one file. First, open the page in Safari. Take a screenshot with any method above, then tap the preview in the corner before it disappears. At the top of the editing screen, tap Full Page. You will see a scrolling strip along the right side that shows the entire page. You can crop or draw on it here. When you finish, tap Done, then choose Save PDF to Files and pick a folder. Note the format: the result is a PDF, not a picture, so it will not appear in your Photos app. Some other apps with long content offer the same option.
How to Find iPhone Screenshots After You Take Them
You took the shot, but where did it go? Finding iPhone screenshots is easy once you know the spot. Open the Photos app and tap Albums. Scroll down to Media Types and tap Screenshots. Every capture you saved appears there, newest at the bottom. You can also find them in your main Recents album, mixed in with your camera photos. If you used the Save PDF to Files option from Safari, look in the Files app, in the folder you picked. Deleted a capture by mistake? Check the Recently Deleted album in Photos. Items stay there for about 30 days before they disappear for good. Tap the one you want, then choose Recover to bring it back to your library.
Markup iPhone Screenshot Images Before You Share Them
Raw screenshots often need a little polish. To markup an iPhone screenshot, tap the preview right after you capture it. You can also open the image in Photos, tap Edit, and then tap the Markup icon. The toolbar gives you a pen, a highlighter, and a pencil for drawing, plus an eraser. Tap the plus button to add text, a signature, or shapes. Drag the corners of the frame to crop out anything you do not need. When you finish, tap Done and choose Save to Photos, Save to Files, or Delete Screenshot if you do not want to keep it. A tip for privacy: if the image shows personal details, crop them out instead of only drawing over them. A light highlighter stroke can leave text readable.
Quick Fixes If iPhone Screenshot Not Working
Sometimes nothing happens when you press the buttons. If you have an iPhone screenshot not working problem, start with the simple checks before you worry about repairs. Try pressing the buttons more briefly and at exactly the same moment. Many failed attempts come from holding them too long. Then work through this list: While you are adjusting your iOS settings, it is also worth learning how to Bluetooth Not Connecting to keep your iPhone running smoothly.
- Remove your case or screen protector and try again.
- Restart your iPhone, then test the shortcut once more.
- Update iOS in Settings, General, Software Update.
- Check your storage in Settings, General, iPhone Storage. A full phone can fail to save new images.
- Test Back Tap or AssistiveTouch, which skip the physical buttons.
- Remember that some apps block screenshots, and protected video often shows a black screen.
If a button seems damaged and nothing helps, contact Apple Support through the iPhone support page.
The Bottom Line
You now have five reliable ways to capture your screen, and you do not need to learn them all. Most people stick with the button shortcut for their model, since it works anywhere in a second. If you take many captures, Back Tap or AssistiveTouch can save you time and wear on your buttons. Reach for Safari’s Full Page option when a long web page matters, and use Markup to trim and annotate before you share. A screenshot on iPhone is a small skill, but it pays off almost every day, from saving a map to keeping proof of a payment. Try each method once while you are reading, so the shortcut is ready the next time something important flashes onto your screen.
FAQ: Screenshot on iPhone Questions
How do I take a screenshot on iPhone without using buttons?
Use Back Tap or AssistiveTouch. Both are in Settings under Accessibility, then Touch. You can also ask Siri to take a screenshot, if Siri is turned on.
Where do my screenshots go?
They save to the Photos app. Open Albums, scroll to Media Types, and tap Screenshots. They also appear in your Recents album.
Can I capture a whole web page?
Yes. Take a screenshot while you are in Safari, tap the preview, and choose Full Page. Your iPhone saves the result as a PDF in the Files app.
Why is my screenshot black or blank?
Some apps block screenshots to protect content, such as certain videos. In those cases, the image may come out black. Some apps may also alert the other person when you capture a chat.
Can I edit a screenshot after I save it?
Yes. Open the image in Photos, tap Edit, and choose the Markup icon. You can crop, draw, add text, and save your changes.
Related guides: How to Take a Screenshot on Android: 7 Easy Methods and Take a Screenshot on Windows: 5 Easy Methods You’ll Love


2 Comments
Comments are closed.