
Android Photos and Videos: 5 Easy Backup Steps

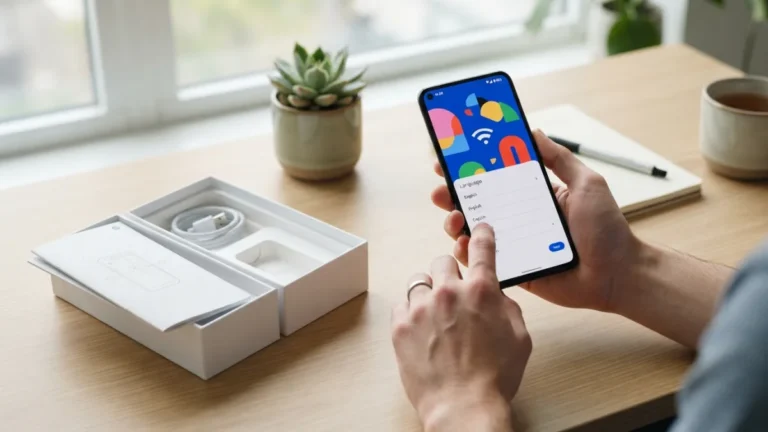
Losing years of family photos and videos because your phone got lost, stolen, or simply died is one of those digital nightmares nobody plans for until it’s too late. Backing up your android photos and videos automatically takes just a few minutes to set up, and once it’s done, you never have to think about it again. Whether you’re using a Samsung, Google Pixel, OnePlus, or any other Android device, the steps below will help you protect every memory without lifting a finger after the initial setup.
Why Backing Up Your Android Photos and Videos Matters
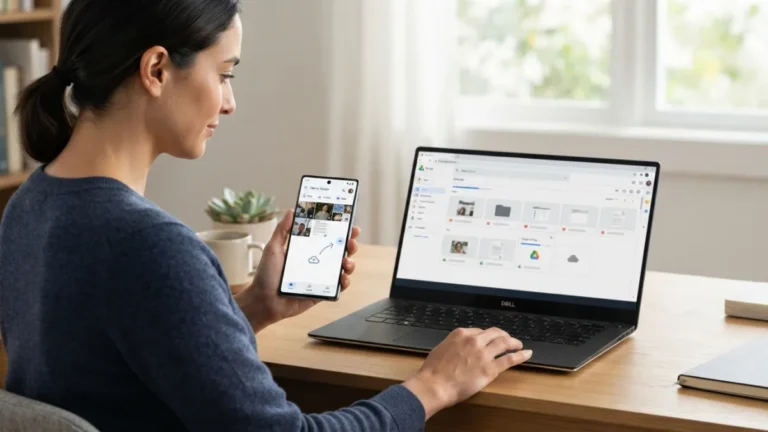
Phones get damaged, stolen, or simply stop working, and when that happens, everything stored only on the device disappears with it. Cloud backup solves this problem by creating a copy of your files somewhere safe, accessible from any device with an internet connection. Beyond disaster protection, automatic backups also free up storage space on your phone, since many services let you remove the local copy once it’s safely uploaded. If you’ve ever gotten that annoying “storage almost full” notification right before an important event, you know how frustrating it is to scramble for space. Setting up automatic backup for your android photos and videos means that problem quietly disappears, and you can keep shooting without worrying about running out of room or losing anything important along the way. If you run into related issues on your phone, our step-by-step guide on how to reset Network Settings Android walks through the safest fixes.
Step 1: Turn On Google Photos Backup
The simplest and most popular way to protect your android photos and videos is through Google Photos, which comes preinstalled on most Android devices. Open the app, tap your profile picture in the top right corner, and select “Photos settings,” then “Backup.” From there, toggle backup on and choose your preferred upload quality — either “Storage saver,” which compresses files slightly to save space, or “Original quality,” which preserves every pixel but uses more storage. Once enabled, every new photo and video you capture uploads automatically in the background, no extra taps required. This single step covers most users’ needs, and it’s the foundation most people should start with before adding any extra layers of protection.
Step 2: Check and Adjust Your Android Backup Settings
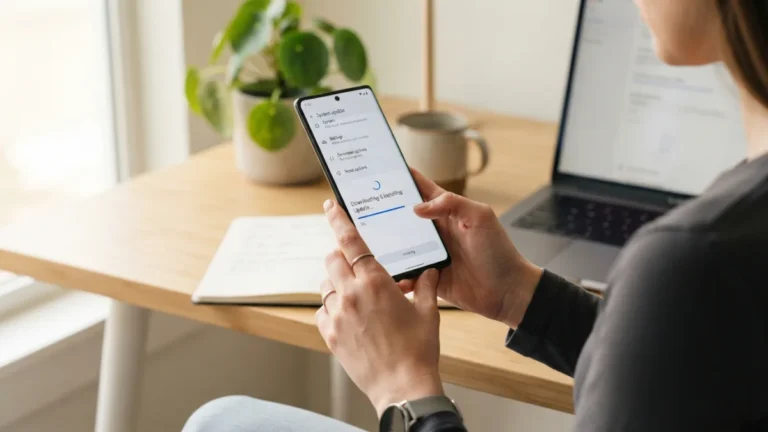
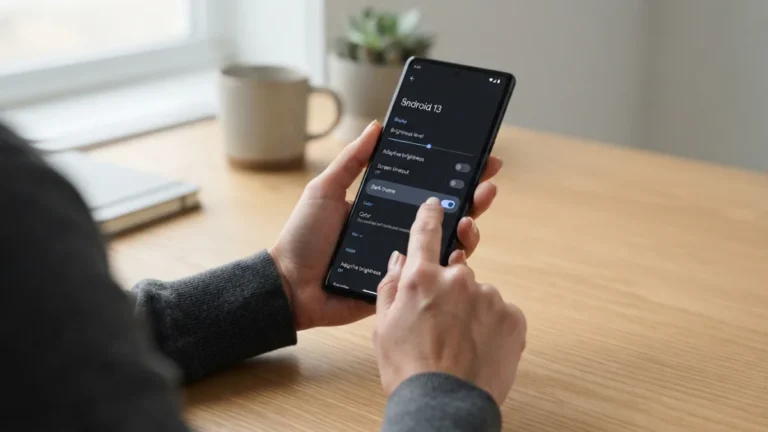
Google Photos handles your media, but your phone’s broader android backup settings cover other important data like app information, call history, contacts, and device settings. To review these, go to Settings, then Google, then “Backup,” and make sure the toggle is switched on. You can also check Settings, System, Backup on some devices, depending on the manufacturer’s version of Android. According to Google’s official support documentation, this system backup works alongside Photos backup rather than replacing it, so both should be active for full protection. Taking two extra minutes here means that if you ever switch phones, you’ll restore not just your pictures but your entire setup, saving hours of tedious reconfiguration later on.
Step 3: Choose the Right Cloud Storage for Android
Google Photos offers limited free storage, and once you hit that cap, you’ll need to decide how to expand it. This is where picking the right cloud storage for android becomes important, since several solid options exist beyond Google’s own service. Dropbox, Microsoft OneDrive, and Amazon Photos all offer automatic camera upload features similar to Google Photos, and some bundle storage with subscriptions you might already own, like Amazon Prime or Microsoft 365. Consider your budget, how much storage you actually need, and whether you’re already invested in a particular ecosystem. Switching between services later is possible but can be tedious, so it’s worth spending a little time comparing options now rather than migrating everything down the road.
| Service | Free Storage | Automatic Backup | Best For |
|---|---|---|---|
| Google Photos | 15 GB (shared with Gmail and Drive) | Yes | Most Android users |
| Microsoft OneDrive | 5 GB | Yes | Microsoft 365 subscribers |
| Dropbox | 2 GB | Yes | Users needing cross-platform syncing |
| Amazon Photos | 5 GB (unlimited photos for Prime members) | Yes | Amazon Prime subscribers |
Step 4: Set Up a Photo Backup App for Extra Protection
Relying on a single service is fine for most people, but some prefer extra peace of mind by using a second photo backup app as a redundancy layer. Apps like Dropbox or OneDrive can run alongside Google Photos, quietly uploading a duplicate copy of your media to a different cloud account. This “belt and suspenders” approach protects you even in the rare case that one service experiences an outage or account issue. To set this up, simply install the second app, sign in, and enable camera upload or automatic backup in its settings menu. Just be mindful of your phone’s data usage and storage limits if you’re running two backup services simultaneously, since both will be working in the background at the same time.
Step 5: Automate Backup Over Wi-Fi to Save Data
Automatic backup is only truly convenient if it doesn’t quietly eat through your mobile data plan every month. Most backup apps, including Google Photos, let you restrict uploads to Wi-Fi only, which prevents surprise charges or slowdowns on limited data plans. Look for a setting labeled “Back up using mobile data” or similar wording within the app’s settings menu, and turn it off if you want uploads to happen exclusively when connected to a wireless network. This means large video files might wait until you’re home or connected to a trusted network before uploading, but that’s a small trade-off for avoiding data overage fees. For most users, this small tweak makes the entire automatic backup experience feel truly effortless and worry-free.
Double-Check That Your Backups Are Actually Working
Setting up automatic backup isn’t the end of the process — checking that it’s actually functioning matters just as much. Periodically open your backup app and confirm the “backup complete” or similar status message appears, rather than assuming everything is fine. It’s also smart to test a restore on occasion, perhaps when setting up a new device or a spare one, just to confirm your files come back exactly as expected. According to general guidance from Wikipedia’s overview of cloud storage, redundancy and periodic verification are considered best practices for anyone relying on remote storage for important files. A quick monthly check takes less than a minute and can save you from an unpleasant surprise later.
If you’re running low on storage across your backup services, a few simple habits can help. Regularly review and delete duplicate or blurry photos using built-in tools many gallery apps now offer. Consider downgrading video quality settings for casual clips you don’t need in 4K resolution. You might also archive older years’ worth of media to an external hard drive periodically, freeing up cloud space for newer content while still keeping everything accessible. Some users choose to pay for a modest storage upgrade, which is often cheaper than expected and removes the hassle of constant file management altogether. While you are adjusting these settings, it is also worth learning how to delete Apps on Android to keep everything running smoothly.
Automatic backup isn’t just a convenience — it’s genuinely one of the most important habits any smartphone owner can build. Taking the time now to set up Google Photos, review your android backup settings, and pick a reliable cloud storage option means you’ll never again face the panic of a lost or broken phone wiping out irreplaceable memories. The process takes maybe fifteen minutes total, most of it spent deciding which service fits your needs best. Once it’s running, your android photos and videos will keep uploading quietly in the background, letting you focus on capturing new memories instead of worrying about losing the old ones.
Frequently Asked Questions
Does backing up my Android photos and videos cost money?
Basic backup through Google Photos is free up to a storage limit, currently shared across your Google account. Beyond that limit, you’ll need to purchase additional storage through Google One or choose an alternative service with its own free tier.
Will automatic backup drain my phone’s battery?
Backup processes run efficiently in the background and typically have minimal impact on battery life, especially when restricted to Wi-Fi and charging periods. Most users won’t notice any meaningful difference in daily battery performance.
Can I back up photos and videos to more than one cloud service at once?
Yes, running two backup apps simultaneously is possible and even recommended by some users for extra redundancy. Just monitor your storage limits and data usage on each service to avoid unexpected restrictions.
What happens to my backed-up photos if I switch phones?
Your photos and videos remain safely stored in the cloud regardless of which device you use. Simply sign into the same account on your new phone, and everything will sync back automatically within minutes.
How do I know if my automatic backup is actually working?
Open your backup app periodically and check for a “backup complete” message or similar confirmation. You can also verify by checking the web version of the service to confirm recent photos have uploaded successfully.
Related guide: How to Transfer Files Between Android and PC (No App Needed)


4 Comments
Comments are closed.