
Google Drive: 7 Easy Steps to Keep Android Files Safe
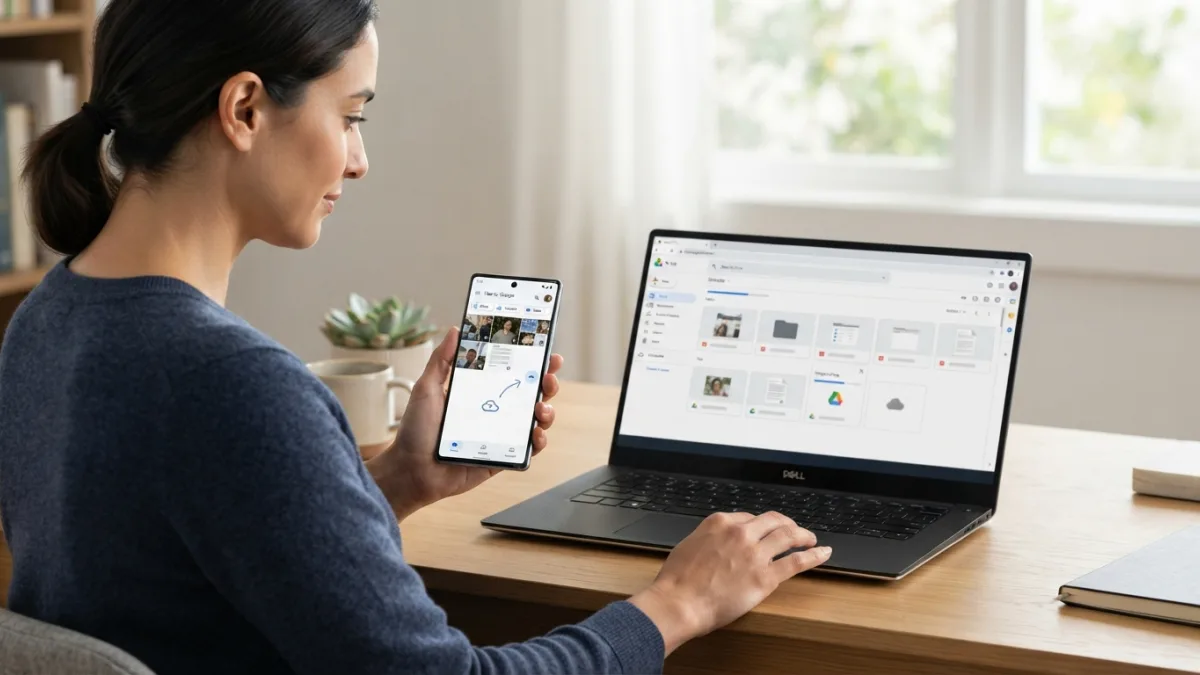
Losing your phone shouldn’t mean losing your photos, contacts, and important documents. With google drive, you can keep a secure copy of almost everything on your Android device and get it back in minutes. This built-in option is free, simple to set up, and works quietly in the background once you turn it on. Many people wait until something goes wrong before they think about backups. A cracked screen, a stolen phone, or a failed update can erase years of memories in seconds. The good news is Android makes protection easy. In this guide you will learn seven clear steps to set up, manage, and restore your files without stress or technical skills.
Why Android Backup Matters More Than You Think
Your Android phone holds more than just apps. It stores family photos, work files, chat histories, and settings that make the device feel personal. Without a solid android backup, a single accident could wipe all of that away. That is where google drive storage comes in. Every Google account includes 15 GB of free space shared across Drive, Gmail, and Photos, which is enough for most users to start. You can check how this space is used and what counts toward it on the official Google Drive help page. Once you understand your storage, you can make smarter choices about what to save and when to clean up. If you run into related issues on your phone, our step-by-step guide on how to turn Off Autocorrect Mistakes on Your Android Phone walks through the safest fixes.
Step 1: Check Your google drive Storage and Google Account
Before you back up anything, confirm which Google account is active on your phone. Open Settings, tap Google, and check the email address at the top. This is the account where your backup will be saved. Then open the google drive app or visit drive.google.com to see your current google drive storage usage. You will see a bar showing how much space is taken by Drive files, Gmail, and Google Photos. If you are close to the limit, consider removing large videos or old attachments. You can also upgrade to Google One for more space, but most people can manage well with the free plan by backing up only what matters.
Step 2: Turn On Auto Backup Android in Backup Settings
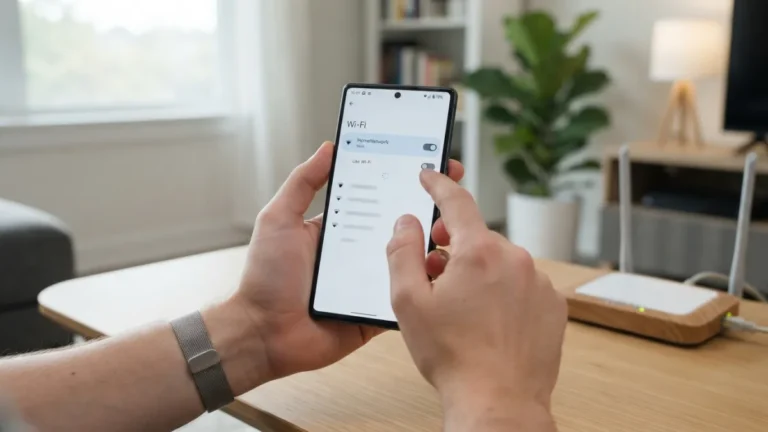
Android has a dedicated backup system that saves app data, call history, contacts, and device settings automatically. To enable it, open Settings and look for System, then Backup, or search for backup settings in the search bar. You will see a toggle for Back up to Google Drive or Backup by Google One. Turn it on and make sure your Google account is selected. This enables auto backup android so your phone saves changes daily when it is connected to Wi-Fi and charging. You can learn more about what is included and how it works on the Android backup support page. Once active, you rarely need to think about it again.
Step 3: Choose What to Back Up Beyond Photos
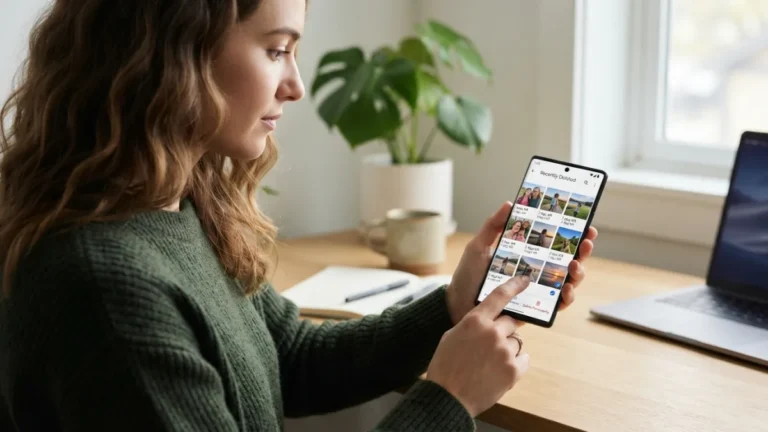
Photos and videos are usually the biggest part of any backup, but they are not the only files worth saving. Think about documents, PDFs, voice recordings, and downloads that you have collected. Google Photos can back up your camera roll separately, while Drive is better for files and folders. Go to your phone’s Photos app, tap your profile picture, then Photos settings, and confirm backup is on. For other files, you can select them manually. Decide what is essential. You do not need to save every screenshot or duplicate file. A focused android backup is faster, uses less storage, and is easier to restore later when you really need it.
Step 4: Manually Back Up Files to google drive
Automatic backup covers system data, but you may want to save specific files right away. The google drive app makes manual uploads simple. You control exactly what gets stored and where it goes, which is useful for important work or travel documents. Use this method when you finish a project or want an extra copy of something valuable.
- Open the google drive app on your Android phone and tap the + New button.
- Choose Upload, then browse your phone storage to find the file or folder.
- Select the file and wait for the upload to finish. Keep Wi-Fi on for large files.
- Create folders in Drive, like Work or Family Photos, to stay organized from the start.
Step 5: Organize and Manage Your Backups in google drive
After a few uploads, your google drive can get crowded. Take a few minutes to create a clear folder structure. You might have one folder for documents, one for photos, and one for device backups. Rename files so you can find them later without opening each one. Open Drive on your computer as well as your phone to see everything in one place. Check the Storage section to spot large files that use a lot of space. If you find old backups from a previous phone, you can delete them. Regular tidying keeps your backup fast and ensures you always know where the latest version of each file lives.
Step 6: Learn How to Restore Android Files Quickly
Knowing how to restore android files is just as important as backing them up. If you get a new phone or reset your current one, the restore process starts during setup. After you sign in with the same Google account, Android will ask if you want to restore from a backup. Choose the most recent backup and select what to bring back, such as apps, contacts, and settings. For individual files, just open the google drive app, find the file, and tap Download or Make available offline. According to Wikipedia’s overview of Google Drive, your files stay linked to your account, so you can access them from any device with an internet connection.
Step 7: Build a Simple Habit to Keep Backups Fresh
A backup is only useful if it is current. Make a habit of checking it once a month. It takes less than two minutes. Open Settings, go to System and Backup, and confirm the last backup time is recent. If it is not, tap Back up now. Also open Drive and Photos to see if recent pictures have uploaded. Try to stay on Wi-Fi when backing up large videos to avoid mobile data charges. Turn on battery optimization exceptions for Drive and Photos so the system does not pause uploads. These small steps keep your backup reliable without requiring constant attention or complicated routines.
Common Problems and Easy Fixes
Sometimes backups fail, and the cause is usually simple. If your phone says backup is paused, check your internet connection and battery level. Android often waits for Wi-Fi and charging before running auto backup android tasks. If you see a storage full warning, delete unnecessary files or clear trash in Drive, which still counts toward your limit until emptied. If a file will not upload, try restarting the app or updating it from the Play Store. Clearing the cache for Drive can also help. Most issues clear up after these quick checks, and your next backup should run normally. While you are adjusting these settings, it is also worth learning how to stop Annoying Ads and Pop-Ups on Android to keep everything running smoothly.
Keep Your Backup Safe and Private
Security matters when your personal files are stored online. Your Google account is protected by your password and optional two-step verification, which you should turn on. Avoid signing in on shared or public devices. If you do, remember to sign out and remove the account afterward. Review which apps have access to Drive by visiting your Google account permissions page. Only grant access to apps you trust. Also, be careful with links you share from Drive. Set sharing to Restricted unless you specifically want others to view a file. These habits keep your backup both accessible to you and private from everyone else.
Final Thoughts: You Are Ready to Protect Your Files
You do not need to be a tech expert to keep your Android files safe. With a few taps in your backup settings and a little organization in google drive, you can protect photos, documents, and settings from loss. The seven steps above give you a complete routine: check your account, enable automatic backup, choose what to save, upload manually when needed, stay organized, practice restoring, and keep everything fresh. Start today while your phone is working well. That way, if you ever need to switch devices or recover after a problem, your files will be waiting for you, safe and ready to download.
Frequently Asked Questions
How much free google drive storage do I get for Android backup?
Every Google account comes with 15 GB of free storage shared across Drive, Gmail, and Google Photos. Your android backup, including app data and settings, counts toward this limit. You can check usage in the Drive app and upgrade through Google One if you need more space.
Does auto backup android save my photos and videos automatically?
System backup saves app data, contacts, and settings, but photos and videos are handled by Google Photos. You need to turn on backup in the Photos app separately. Once enabled, new photos and videos upload automatically when you are on Wi-Fi.
Can I restore android files to a new phone?
Yes. When you set up a new Android phone and sign in with the same Google account, you will be asked to restore from your previous backup. You can choose to restore apps, contacts, call history, and device settings. Individual files can be downloaded anytime from the Drive app.
Where do I find backup settings on Android?
Open the Settings app, then tap System and Backup. On some phones, you can also search for Backup in Settings. Make sure Backup by Google One is turned on and the correct Google account is selected.
What should I do if my backup fails due to no space?
Check your storage in Drive and delete large or duplicate files, then empty the trash. You can also turn off backup for less important items or move some files to another storage option. After freeing space, go back to backup settings and tap Back up now.

2 Comments
Comments are closed.