Install Ubuntu: 7 Easy Steps for Complete Beginners
Switching to Linux sounds intimidating until you actually try it, and Ubuntu remains the friendliest doorway into that world. If you want to install Ubuntu on your laptop or desktop but have never touched a Linux system before, you’re in the right place. This guide walks you through the entire process in seven manageable steps, from downloading the right file to booting into your new operating system for the first time. No technical background required, just a working computer, a spare USB drive, and about thirty minutes of your time.
Why Install Ubuntu?
Ubuntu has built a reputation as one of the most approachable Linux distributions on the market, and that’s exactly why so many beginners choose it as their first step away from Windows or macOS. It’s free, it receives regular security updates, and it runs smoothly on both modern machines and older hardware that might struggle with newer versions of Windows. The software center includes thousands of free applications, and the community support around Ubuntu is massive, which means most problems you run into already have a documented solution online. Whether you want a second operating system for programming, privacy, or simple curiosity, Ubuntu gives you a stable and polished experience without costing a cent. If you want to dig deeper, our guide on How to Install Linux Alongside Windows (Dual Boot) covers this in more detail. This is a common part of dealing with install ubuntu, and it is worth keeping in mind.
Ubuntu System Requirements
Before you install Ubuntu, it helps to confirm your computer can actually handle it comfortably. The official Ubuntu desktop download page lists the minimum recommended specs, but in practical terms you’ll want at least 4GB of RAM, though 8GB makes everyday use noticeably smoother. You’ll also need roughly 25GB of free storage space, a dual-core processor from the last decade or so, and either a DVD drive or a USB port to boot the installer. Graphics requirements are modest, so most integrated graphics cards handle Ubuntu just fine. If your machine meets these ubuntu system requirements, you’re ready to move on to the actual installation process. Many people run into this exact issue with install ubuntu at some point.
Step 1: Download the Ubuntu ISO File
The very first move in any ubuntu installation guide is grabbing the correct installation file, known as an ISO image. Head to the official Ubuntu website and download the latest Long-Term Support, or LTS, release, since these versions receive updates and security patches for several years rather than just a few months. Avoid downloading Ubuntu ISO files from third-party websites, since modified or outdated copies can carry security risks. The file itself is usually between 4GB and 6GB, so a stable internet connection will save you time. Once the download ubuntu iso process finishes, verify the file if you’re comfortable doing so, though this step is optional for most casual users. Keeping install ubuntu in mind here will save you time later on.
Step 2: Create a Bootable USB Drive
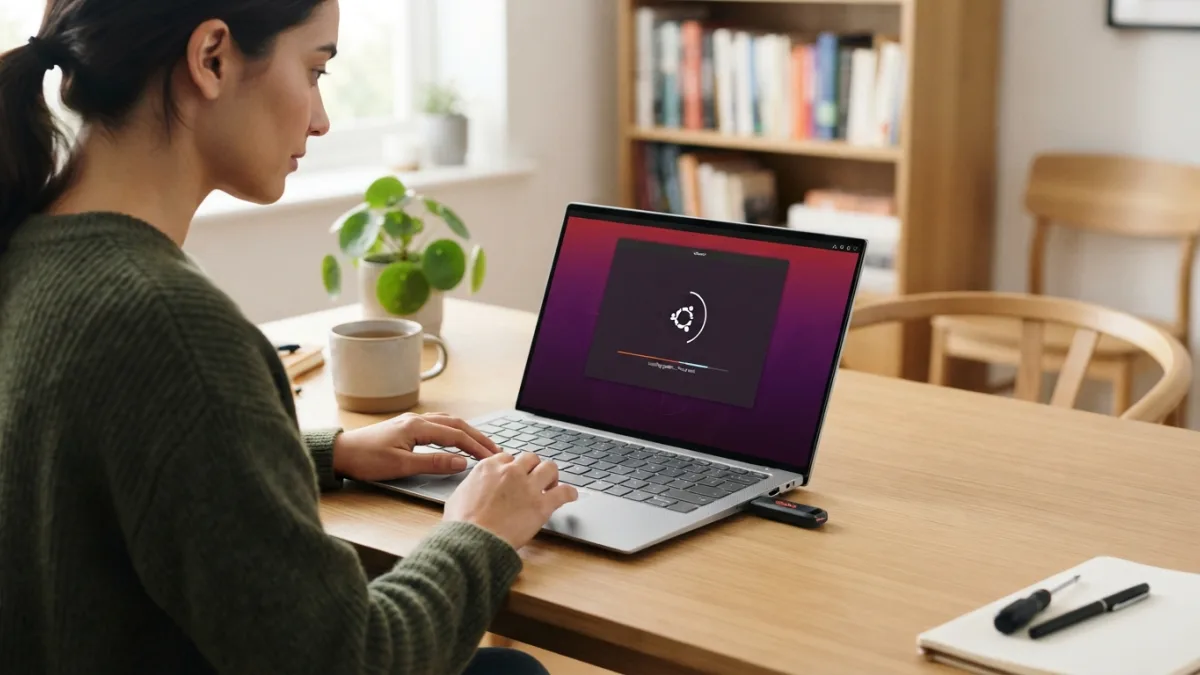
With the ISO file saved on your computer, the next step is turning a USB drive into a bootable installer. Grab a USB stick with at least 8GB of storage, since anything smaller won’t fit the installation files. On Windows, a free tool like Rufus makes this process simple: plug in your USB, select the Ubuntu ISO, and let the software write it to the drive. Mac and Linux users often rely on a tool called balenaEtcher instead, which works in a similar drag-and-drop fashion. This step effectively lets you install Ubuntu from USB, which is the most common and reliable method for beginners, far easier than burning a DVD. This detail matters more than it seems once install ubuntu comes up again.
Step 3: Back Up Your Data and Prepare Your Computer
Before you touch your computer’s partitions, back up anything important. Even though modern Ubuntu installers are generally safe and give you clear warnings before altering your disk, mistakes happen, and a backup gives you peace of mind. Copy your files to an external drive or a cloud service, then check your computer’s BIOS or UEFI settings to make sure USB booting is enabled and, if needed, that Secure Boot won’t block the Ubuntu installer. This is also the moment to decide whether you want dual boot ubuntu windows setup, keeping your existing operating system alongside Ubuntu, or a clean install that replaces everything currently on the drive. This connects closely with another common issue — see How to Install Software on Linux Without Using the Terminal for more on that. It is one of those small things that makes install ubuntu easier to manage overall.
Step 4: Boot From the USB Drive
Restart your computer with the USB drive plugged in, then enter the boot menu, usually by pressing a key like F12, F2, Esc, or Delete during startup, depending on your computer’s manufacturer. Select the USB drive from the list of boot options, and within a few seconds you should see the Ubuntu logo appear, followed by a welcome screen offering you the choice to “Try Ubuntu” or “Install Ubuntu” directly. Trying it first lets you explore the desktop environment without making any changes to your hard drive, which is a nice way to get comfortable before committing. When you’re ready, click the install option to begin the real setup process. This is a common part of dealing with install ubuntu, and it is worth keeping in mind.
Step 5: Choose Your Installation Type
This is arguably the most important decision point in the entire process. The installer will ask whether you want to erase the disk and install Ubuntu as your only operating system, or install it alongside an existing system for a dual boot setup. Choosing dual boot ubuntu windows lets you switch between the two operating systems each time you start your computer, which is popular among people who aren’t ready to fully abandon Windows yet. If you select this option, Ubuntu will automatically resize your existing partition to make room, though you can also do this manually if you prefer more control over how much space each system gets. Many people run into this exact issue with install ubuntu at some point.
Step 6: Follow the Installer and Set Up Your Account
Once you’ve picked your installation type, the rest of the process feels a lot like setting up any modern operating system. You’ll select your keyboard layout, connect to Wi-Fi if you’re not already wired in, and choose your timezone. Then you’ll create a username and password, which you’ll use to log in and to authorize administrative changes later on. Ubuntu also offers the option to encrypt your home folder for added privacy, something worth considering if your device contains sensitive files. After confirming your choices, the installer copies files onto your hard drive, a process that typically takes between fifteen and twenty-five minutes depending on your hardware. Keeping install ubuntu in mind here will save you time later on.
Step 7: Finish Installation and Update Ubuntu
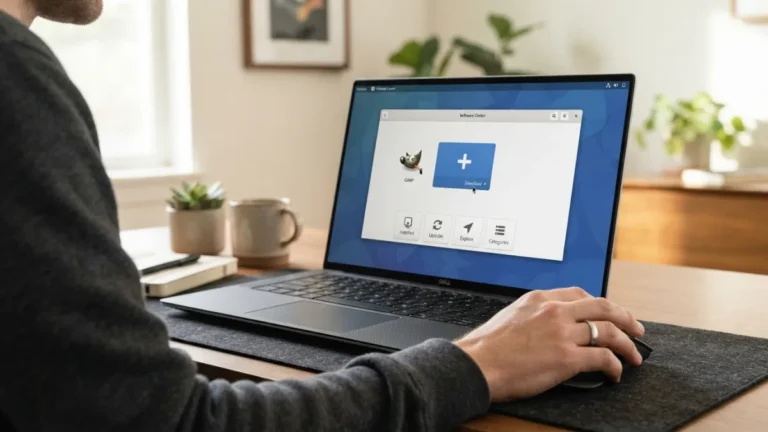
When the installation finishes, you’ll be prompted to remove the USB drive and restart your computer. On reboot, you’ll land on the Ubuntu login screen for the first time, and entering your new credentials will bring you straight to the desktop. Before doing anything else, open the Software Updater and install any available updates, since these often include important security patches released after the ISO file was originally built. This final step completes the process to install Ubuntu successfully, and from here your system is ready for everyday use, whether that means browsing, coding, or installing additional applications from the Ubuntu Software Center. You might also find our article on How to Fix a Linux Computer That Won't Start helpful here. This detail matters more than it seems once install ubuntu comes up again.
Troubleshooting Common Installation Issues
Occasionally things don’t go perfectly on the first attempt, and that’s completely normal. If your computer won’t boot from the USB drive, double-check that Secure Boot is disabled or that the USB was created correctly using Rufus or balenaEtcher. Black screens after booting sometimes point to graphics driver conflicts, which can often be resolved by selecting the “safe graphics” option from the boot menu. If the installer freezes during partitioning, restarting the process and choosing a different installation type usually fixes it. According to Ubuntu’s project documentation, the operating system supports a wide range of hardware, but checking community forums for your specific laptop or desktop model before installing can save you a lot of frustration. It is one of those small things that makes install ubuntu easier to manage overall.
What to Do After You Install Ubuntu
Once your system is up and running, spend a little time customizing it to fit your workflow. Open the Software Center and browse for applications you might need, such as media players, office suites, or development tools. Enable automatic updates so your system stays secure without extra effort on your part, and consider setting up a backup routine using Ubuntu’s built-in tools. If you dual boot Ubuntu Windows, take a moment to confirm both operating systems appear correctly in the boot menu each time you start your computer. Finally, explore the settings menu to adjust display, sound, and privacy preferences until the desktop feels genuinely like yours. This is a common part of dealing with install ubuntu, and it is worth keeping in mind.
Installing a new operating system might sound like a job for tech experts, but as you’ve just seen, the process is far more approachable than most people expect. Each step builds naturally on the last, from downloading the ISO to logging into your finished desktop, and the entire guide can realistically be completed in under an hour. Ubuntu’s combination of stability, free software, and strong community support makes it a genuinely rewarding choice for anyone curious about life beyond Windows or macOS. Once you’re comfortable with this first installation, you’ll find that reinstalling, upgrading, or even trying other Linux distributions becomes much less intimidating the second time around.
Frequently Asked Questions
Do I need to remove Windows to install Ubuntu?
No, you don’t. You can set up a dual boot configuration that keeps Windows and Ubuntu on the same drive, letting you choose which system to use each time you start your computer. For a related walkthrough, check out How to Choose the Right Linux Version for Beginners.
How long does it take to install Ubuntu?
Most installations take between thirty and forty-five minutes total, including creating the USB drive, though the actual file-copying stage usually finishes in fifteen to twenty-five minutes.
Can I install Ubuntu on an old laptop?
Yes, Ubuntu is known for running well on older hardware, often more smoothly than newer versions of Windows, as long as your machine meets the minimum system requirements.
What is the safest way to download the Ubuntu ISO?
Always download it directly from the official Ubuntu website rather than third-party sources, since unofficial copies could be outdated or modified in unsafe ways.
Will installing Ubuntu delete my files?
Only if you choose the option to erase the disk. Selecting a dual boot setup or installing alongside your existing system preserves your current files, but backing up important data beforehand is always a smart precaution.